linux下testlink环境搭建
Whisper Lv4

安装步骤

  1. 安装MySQL
  2. 安装Apache
  3. 安装PHP
  4. 安装TestLink

以下试验环境:Ubuntu 16.04 LTS

安装MySQL

安装mysql

安装Apache

Apache是世界使用排名第一的Web服务器软件。快速、可靠并且可通过简单的API扩充,将Perl/Python等解释器编译到服务器中。

先更新,再安装:

1
2
sudo apt-get update
sudo apt-get install apache2

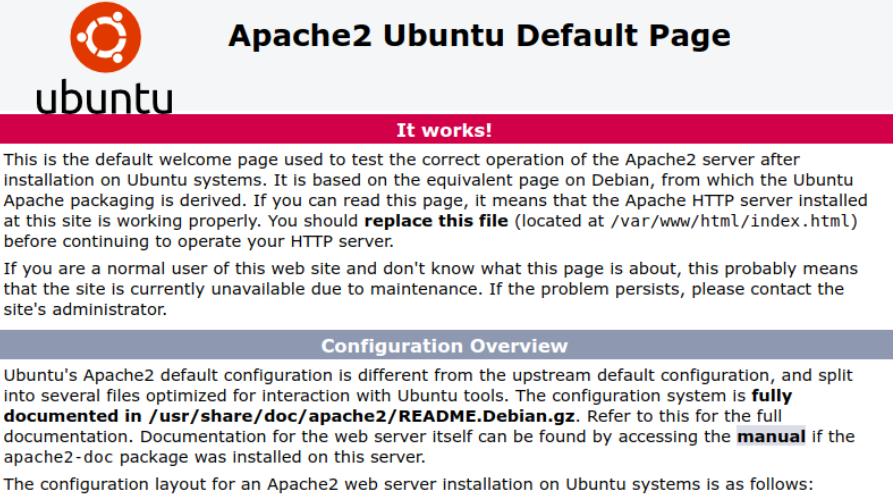
Apache默认为80端口,浏览器访问localhost,如下:

配置

Apache配置文件在/etc/apache2/sites-enabled/000-default.conf,cat内容如下:

1
2
3
4
5
6
7
8
9
10
11
12
13
14
15
16
17
18
19
20
21
22
23
24
25
26
27
28
29
<VirtualHost *:80>
# The ServerName directive sets the request scheme, hostname and port that
# the server uses to identify itself. This is used when creating
# redirection URLs. In the context of virtual hosts, the ServerName
# specifies what hostname must appear in the request's Host: header to
# match this virtual host. For the default virtual host (this file) this
# value is not decisive as it is used as a last resort host regardless.
# However, you must set it for any further virtual host explicitly.
#ServerName www.example.com

ServerAdmin webmaster@localhost
DocumentRoot /var/www/html

# Available loglevels: trace8, ..., trace1, debug, info, notice, warn,
# error, crit, alert, emerg.
# It is also possible to configure the loglevel for particular
# modules, e.g.
#LogLevel info ssl:warn

ErrorLog ${APACHE_LOG_DIR}/error.log
CustomLog ${APACHE_LOG_DIR}/access.log combined

# For most configuration files from conf-available/, which are
# enabled or disabled at a global level, it is possible to
# include a line for only one particular virtual host. For example the
# following line enables the CGI configuration for this host only
# after it has been globally disabled with "a2disconf".
#Include conf-available/serve-cgi-bin.conf
</VirtualHost>

默认的网站根目录在/var/www/html下,可以将自己的网站放在该目录下(如后面下载的testlink文件夹),也可以修改该值为自定义目录。

设置虚拟域名

1
cd /etc/apache2/sites-available/

有一个默认的配置文件:000-default.conf,拷贝一份然后修改里面的值:

1
sudo cp 000-default.conf my_site.conf

my_site是在/var/www/下建了一个网址项目文件夹,再在my_site中新建一个index.html文件

打开my_site.conf修改如下配置项:

  1. ServerAdmin: 你的邮箱,出error时可以联系到
  2. DocumentRoot: my_site项目的地址,如这里是/var/www/my_site/
  3. ServerName: 自定义一个name,如 my_site.example.com,注意修改成你的项目名称

最后一步:激活配置文件,进入配置文件目录,这里是/etc/apache2/sites-available/,运行命令:

1
sudo a2ensite my_site.conf

输出

1
2
3
Enabling site my_site.
To activate the new configuration, you need to run:
service apache2 reload

重启apache2:

1
service apache2 reload

访问配置的网站。

更多阅读…

修改fireware设置

如果外部访问403了,则需要修改fireware设置允许外部访问默认的web ports。

安装php

1
2
sudo apt-get install php7.0
sudo apt-get install libapache2-mod-php7.0

注意,上面的版本要对应

安装后检测,输入php -v

测试,在Apache网址根目录下创建test.php,写入:

1
<?php phpinfo();?>

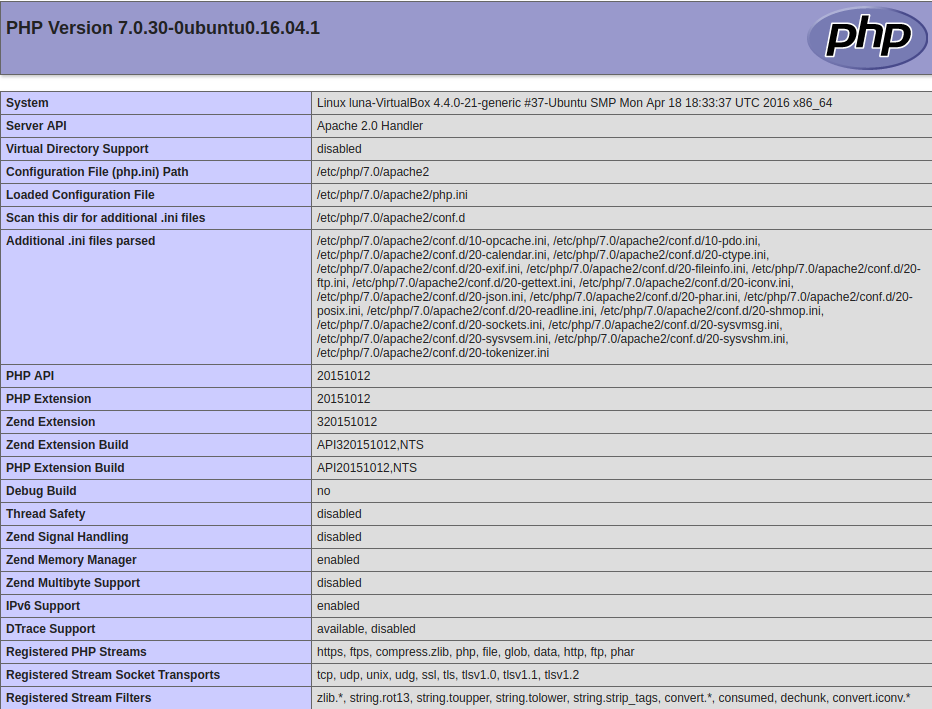
访问localhost/test.php,出现如下页面,安装成功:

安装testlink

使用XAMPP集成安装

https://www.apachefriends.org/download.html